What is the best way to share passwords with team members in Bitwarden?
- Blog
- What is the best way to share passwords with team members in Bitwarden?
Password sharing has many applications. Personal users may want to share a Doordash password with the entire family or an Amazon login with their spouse. With Bitwarden, you can easily and securely share passwords with your friends and family.
Companies and organizations may have hundreds of logins that need to be securely shared with users across teams and departments. Methods of sharing passwords such as through spreadsheets, direct messages, or email are insecure and often lead to bad password practices. Bitwarden allows you to share passwords securely. Read on to learn the best way to share passwords with team members.
The first step to sharing passwords with users in Bitwarden is to create an organization. An organization is an entity that connects users who want to share logins or other sensitive data with each other. This organization could be a family, team, company, or any other group that desires to share logins with Bitwarden.
Bitwarden offers several subscription options for organizations. For personal use, Free and Premium plans allow users to share vault items with one other user, while the Families plan offers the ability to share vault items between six people. For companies or large organizations, a Teams or Enterprise plan will be the right choice. Read more about the different features of these plans.
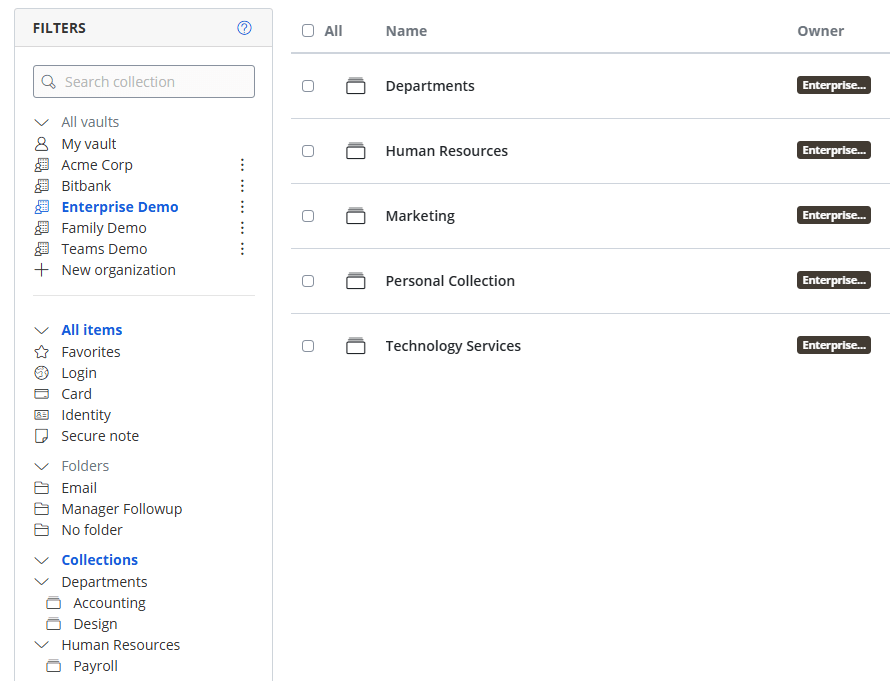
Collections are the primary way to share passwords with team members. This feature allows you to group related logins within your organization so they are easier to share with simple access management. A personal organization for a family may only need to have one or two collections (such as Parents and Kids), while a larger company may have many Collections (for example, each department may have its own collection such as Sales, IT, Developers, Dev Ops, etc.).

When you add a new user to your organization, you can associate that user with one or more collections within that organization. Once the user has access to your organization, any logins placed in that user's associated collections will be available in their vault. When associating a user with a particular collection, you can also decide whether or not that user has Edit access to logins contained within it. Selecting the View option will ensure that the user cannot edit any logins within that particular Collection, only view and use them. Access to the item’s password can be further controlled by granting the View without passwords or Edit without passwords permissions.
Note that collections are different from folders. Collections enable items to be shared with one or more people within the same organization, while folders act similar to favorites, allowing an individual to organize anything they have access to in a way that best suits their needs.
Once you've set up your collections, you're ready to add users to your organization. Adding new users involves a three-step process: inviting the new user to join the organization, the new user accepting the invite, and confirming the user.
To invite a user to your organization, open the Admin Console, click Members in the sidebar, and click Invite member near the top right of the window. In the resulting window, enter their email address, select what type of role they should have (normal user, admin, owner, or custom), and select the collection(s) to which they should have access. Note that you can change this later by editing the user.

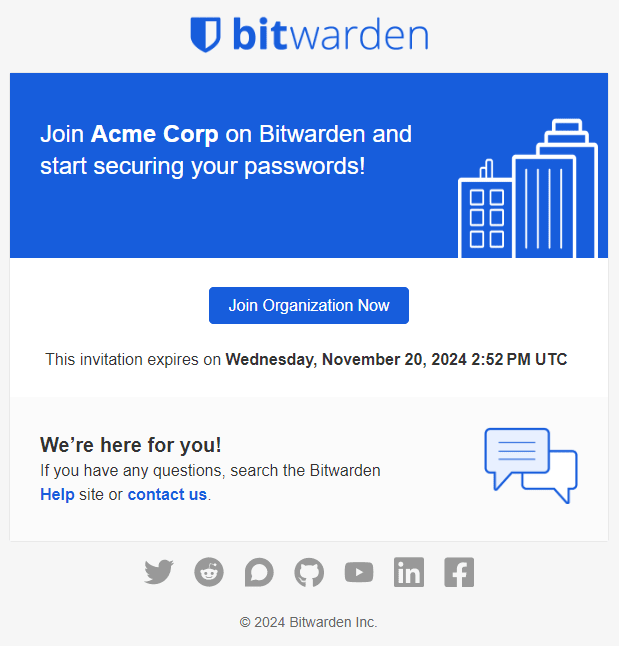
Once a user is invited, they will receive an email with a link to accept the invitation. After clicking the accept link, the user will be prompted to either create a new Bitwarden account or log in to an existing account registered to that email address.

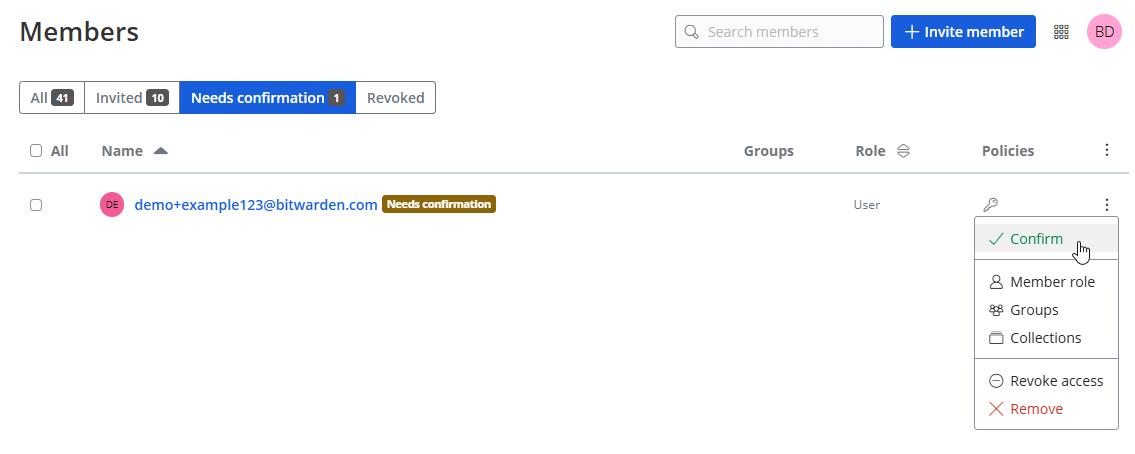
After the user has successfully accepted the Organization invite, an admin must confirm the user (return to: Admin Console > Members). To confirm the user, click the three-dot menu button and then click Confirm. Only after the user is confirmed will they have access to that Organization and the items being shared with them.

Now, we're ready to share logins. Sharing happens through collections. A user can be assigned to a specific collection or can be assigned collection permissions as part of a group of people. Sharing logins can be done in a few different ways.
One option is to create a new vault item like you normally would. During the creation of the item, make sure to select which collection the item should belong to before clicking Save.
From the admin area, you can add new logins to the Organization vault. After adding a login to the Organization vault, you can select the Collection(s) to which that login should belong.

The best way to share passwords with teams in your situation will depend on your needs.
You may also already have logins in your individual vault that you want to "move" to an organization. After adding a login to your individual vault like usual, click the three-dot menu button and select Assign to collections. In the resulting pop-up, select the organization to which the item should be moved and then select the collection(s). When finished, click Assign, and you're done!

After placing a login into a collection, all users that also have rights to that collection will then have access to view or edit the login based on the permissions you assigned them.
Sharing passwords is a common challenge for teams because it requires providing passwords to authorized team members while preventing unauthorized access. Many industries face this security concern and need innovative solutions. Sharing passwords through physical or verbal means can leave information subject to theft, and cybercriminals may hack a team or private account if passwords are not shared securely. To mitigate these risks, it’s crucial to use secure methods for sharing passwords and to educate team members about the importance of password security.
To securely share passwords within an organization, using a reputable password manager and following best practices is essential. This includes using strong, unique passwords for each account, avoiding password reuse, and enforcing two-factor authentication. Educating team members about password security and the importance of using a secure password manager is also crucial. Following these best practices ensures that your sensitive business data remains protected and accessible only to authorized users.
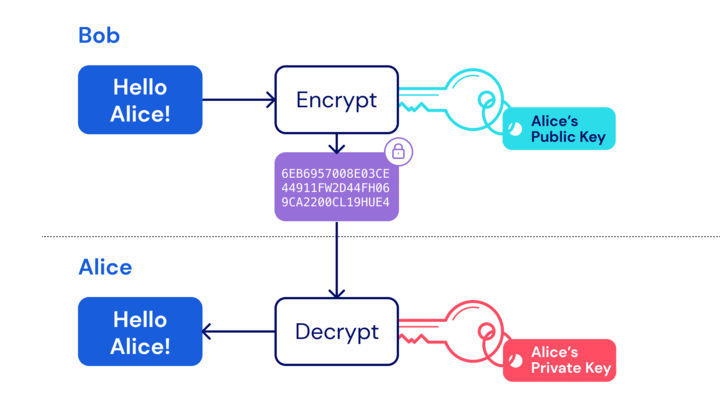
You may be wondering how to share a password and how Bitwarden can share logins across user accounts while still maintaining its policy of never transmitting unencrypted vault data. The answer is public/private keys also called asymmetric encryption. All sharing in Bitwarden follows the same zero-knowledge principles, protecting your vault with end-to-end encryption. No unencrypted data ever leaves your device(s).

As always, feel free to contact us if you have any questions or issues regarding organizations or password sharing in general.
Interested in simplifying your security with Bitwarden? Sign up for a free business trial to keep your team secure online, or register for a free individual account.